How to Make a DIY Survival Knife: The Ultimate Guide

4 Steps To Make Your Own DIY Survival Knife
If you are going to be making your own DIY survival knife, there are a few things that you will need to take into account.
1. Choosing The Steel
First of all, you will need to choose the right type of steel for your blade. There are a variety of different types of steel that can be used for blades, but not all of them will be suitable for a DIY project. For the best results, you should choose a type of high-carbon steel. This will ensure that your knife is strong and durable enough to withstand any type of abuse.

2. Work On The Blade
Once you have chosen the right type of steel, it is time to start working on the blade itself. If you have never worked with steel before, this may seem like a daunting task. However, it is actually quite simple. All you need to do is cut the steel to the correct size and shape. For example, most DIY survival knives have four- and six-inch blades.

3. Work On The Edge
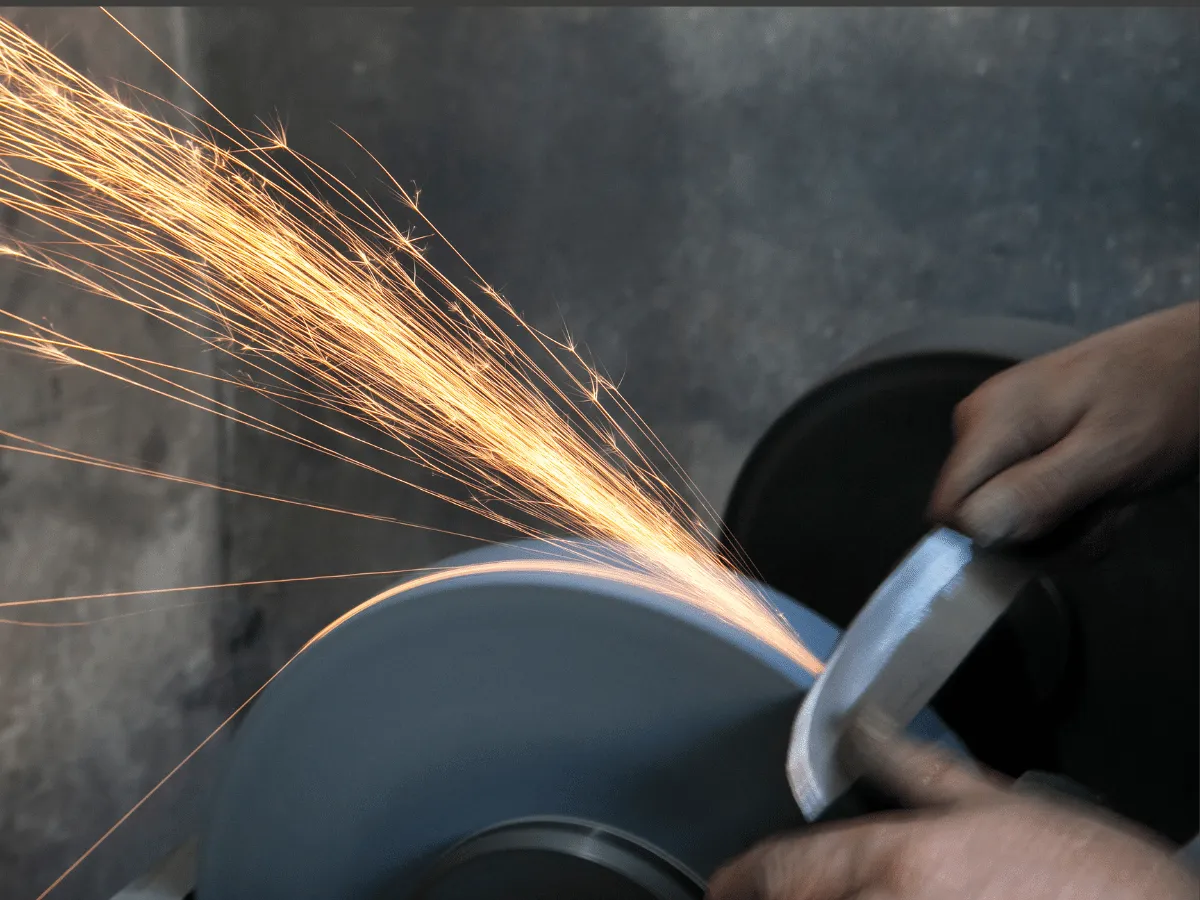
Once the blade is cut to size, it is time to start working on the edge. This is where things can get a bit tricky. You will need to use a grinding wheel or belt sander to grind the blade's edge until it is sharp.
If you have never done this before, it is essential to take your time and be careful. It is very easy to overheat the steel and ruin the blade accidentally.

4. Final Touches
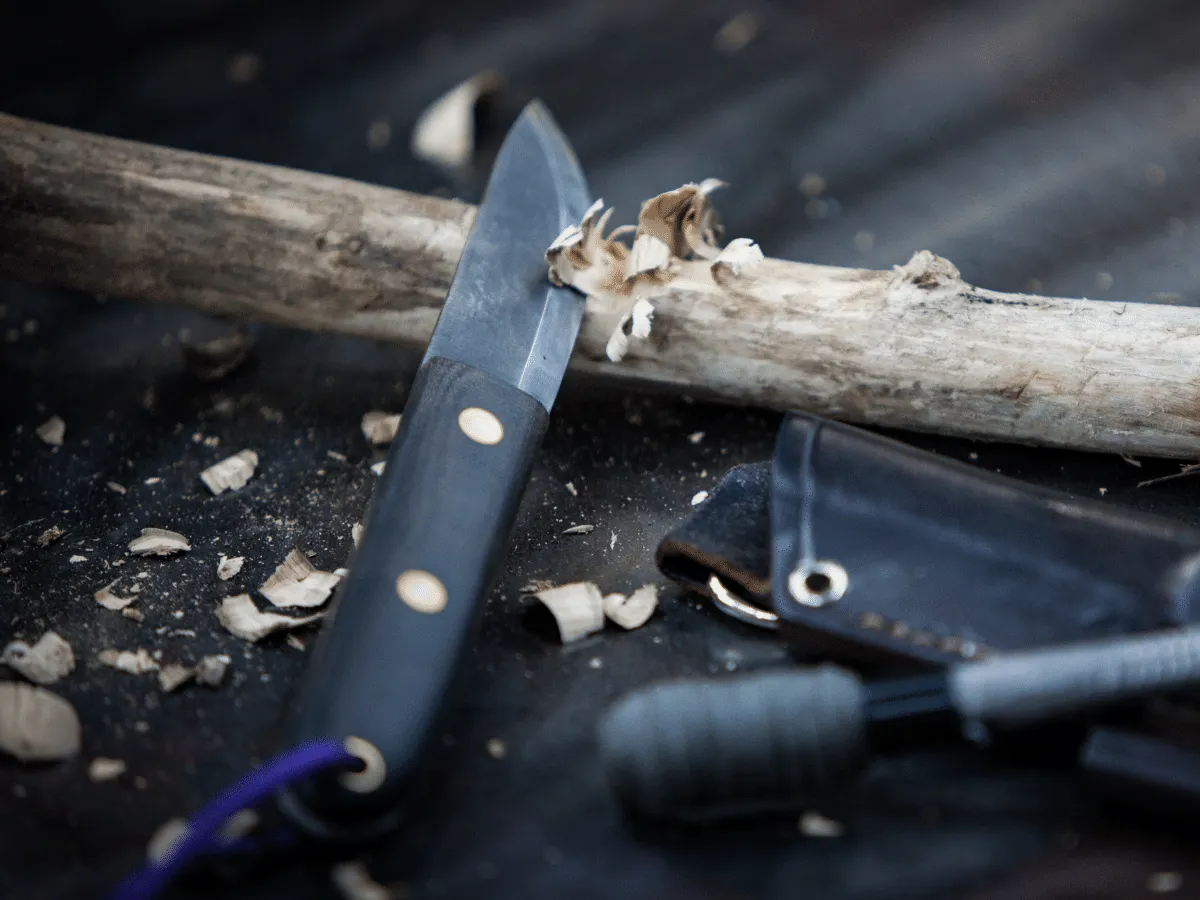
Once you have a sharp edge, it is time to put a final finishing touch on the knife. This includes polishing the blade and adding a handle. For the best results, you should use a piece of wood for the handle.
You can either carve it yourself or purchase a pre-made handle. Once you have added the handle, your DIY survival knife is complete!

Conclusion
As you can see, making your own DIY survival knife is not as difficult as it may seem. With just a few simple steps, you can create a knife that will be perfect for any survival situation.